
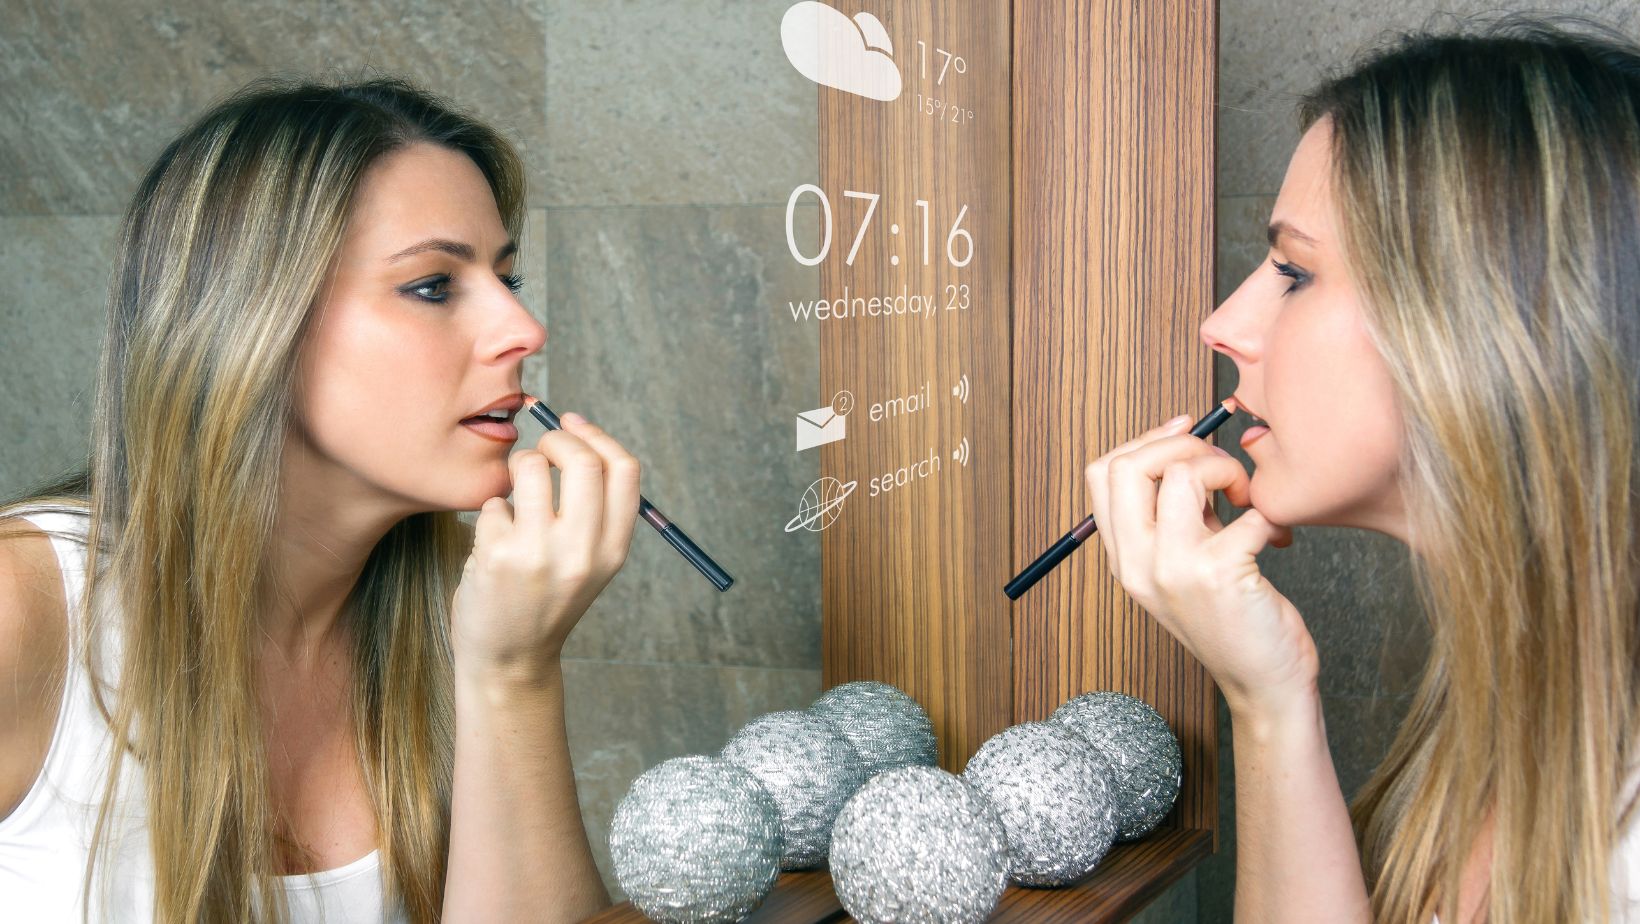
Imagine starting your day by looking into a mirror that not only reflects your appearance but also provides you with the latest news, weather updates, and even responds to your voice commands. Thanks to the advancements in smart home technology, this futuristic concept is now within reach. Get ready to revolutionize your morning routine and add a touch of cutting-edge technology to your home so you can play blackjack online in peace.
Step 1: Gather The Required Materials
To get started, you will need the following materials:
- A two-way mirror or semi-transparent mirror film: This will be used to create the reflective surface of the smart mirror.
- A computer monitor or display: Choose a size that fits your preferences and the available space for the smart mirror.
- A Raspberry Pi: This credit-card-sized computer will serve as the brain of your smart mirror.
- A USB microphone: This will enable voice recognition and interaction with the mirror.
- Speakers: Select speakers that are compatible with your Raspberry Pi for audio output.
- Wood or acrylic frame: This will house all the components and give your smart mirror a polished look.
- Mirror adhesive or double-sided tape: This will be used to attach the two-way mirror or mirror film to the display.
- Various cables: HDMI, USB, and power cables to connect and power the Raspberry Pi, monitor, microphone, and speakers.
Step 2: Set up The Raspberry Pi
Begin by setting up your Raspberry Pi. Install the operating system (such as Raspbian) onto an SD card and insert it into the Raspberry Pi. Connect the monitor, microphone, and speakers to the appropriate ports on the Raspberry Pi. Power up the Raspberry Pi and configure the necessary settings.
Step 3: Install The Required Software
Next, you’ll need to install the necessary software on your Raspberry Pi. This includes the voice assistant software (such as Google Assistant or Amazon Alexa) and any additional modules or libraries required for the smart mirror display.
Step 4: Build The Frame
Construct a frame using wood or acrylic that fits the dimensions of your monitor and mirror.
Make sure to leave space for the Raspberry Pi, speakers, and microphone. Paint or finish the frame as desired to match your aesthetic preferences.
Step 5: Attach The Mirror
If you opted for a two-way mirror, carefully attach it to the front of the monitor using mirror adhesive. Ensure that the reflective side of the mirror faces outward. If you chose mirror film, carefully apply it to the monitor following the manufacturer’s instructions.
Step 6: Assemble The Components
Carefully place the Raspberry Pi, speakers, and microphone inside the frame, ensuring that all the cables are connected properly. Use cable management techniques to keep the wiring neat and organized.
Step 7: Mount The Display
Secure the monitor inside the frame, ensuring it is aligned correctly with the mirror. Use screws or brackets to hold it in place securely.
Step 8: Power up And Test
Connect the power cables to the Raspberry Pi and the monitor. Power on the smart mirror and test the functionality of the voice assistant and information display. Make any necessary adjustments or software configurations to ensure everything is working as intended.

Congratulations! You have successfully built your DIY smart mirror with an integrated voice assistant and information display. Experiment with different applications and customizations to personalize your smart mirror experience. With this exciting addition to your home, you can now enjoy the convenience of voice commands and access useful information right in your bathroom, bedroom, or wherever you choose to install your smart mirror.


